How to Plant Your First Organic Garden
Do you want to grow your own food, but don’t know where to begin? It can be overwhelming, so here are some simple instructions to grow easy vegetables, flowers, and herbs.  Gardening is not linear. These steps overlap, and there are several ways to do most of them, but once you get the main ideas, you can explore variations later. Read up on organic gardening basics.

 Warm Weather:
 Cool weather crops are best planted in spring. Warm weather crops need nights above 50º to do well, and will be killed by frost in spring or fall. Because these plants have different temperature requirements, you will not be planting the entire garden at once.


 Ta da! Congratulations! You just planted your first garden! To get through the summer months of garden maintenance, read books and magazines (and follow them on social media), find local gardening groups online and in real time, and get involved with your local garden club. Shop at a reputable nursery, and ask questions! I highly recommend Mother Earth News, Farmers' Almanac. Also, Rodale’s Encyclopedia of Organic Gardening is a comprehensive reference book, but written simply for anyone to understand. But the best way to learn is by doing. And making mistakes. Keep a garden journal. Note what worked, what didn’t, what you loved, what you didn’t love, the weather, varieties you planted, how long to flower and harvest, bugs, disease, harvest dates and yields, recipes, and anything else! Use this info to make a garden plan for next year. Here’s to a successful growing season! I hope you get bitten by the gardening bug.
Gardening is not linear. These steps overlap, and there are several ways to do most of them, but once you get the main ideas, you can explore variations later. Read up on organic gardening basics.
Start Small
Don’t get bogged down and frustrated with a big garden your first year. If you start with a small space, it will be well tended and productive, inspiring you to expand next year and for many years to come. Decide how much time you have to devote to your garden. Are you a weekend gardener? Will you be taking a vacation? Do you spend a lot of time at kids’ activities? A garden needs attention. Plants don’t wait for you to be free.Grow what you eat!
Next, make a list of what your household eats. Order a lot of seed catalogs. They not only will inspire you, but they are also a wealth of growing, harvesting, and cooking information.
Easy Plants
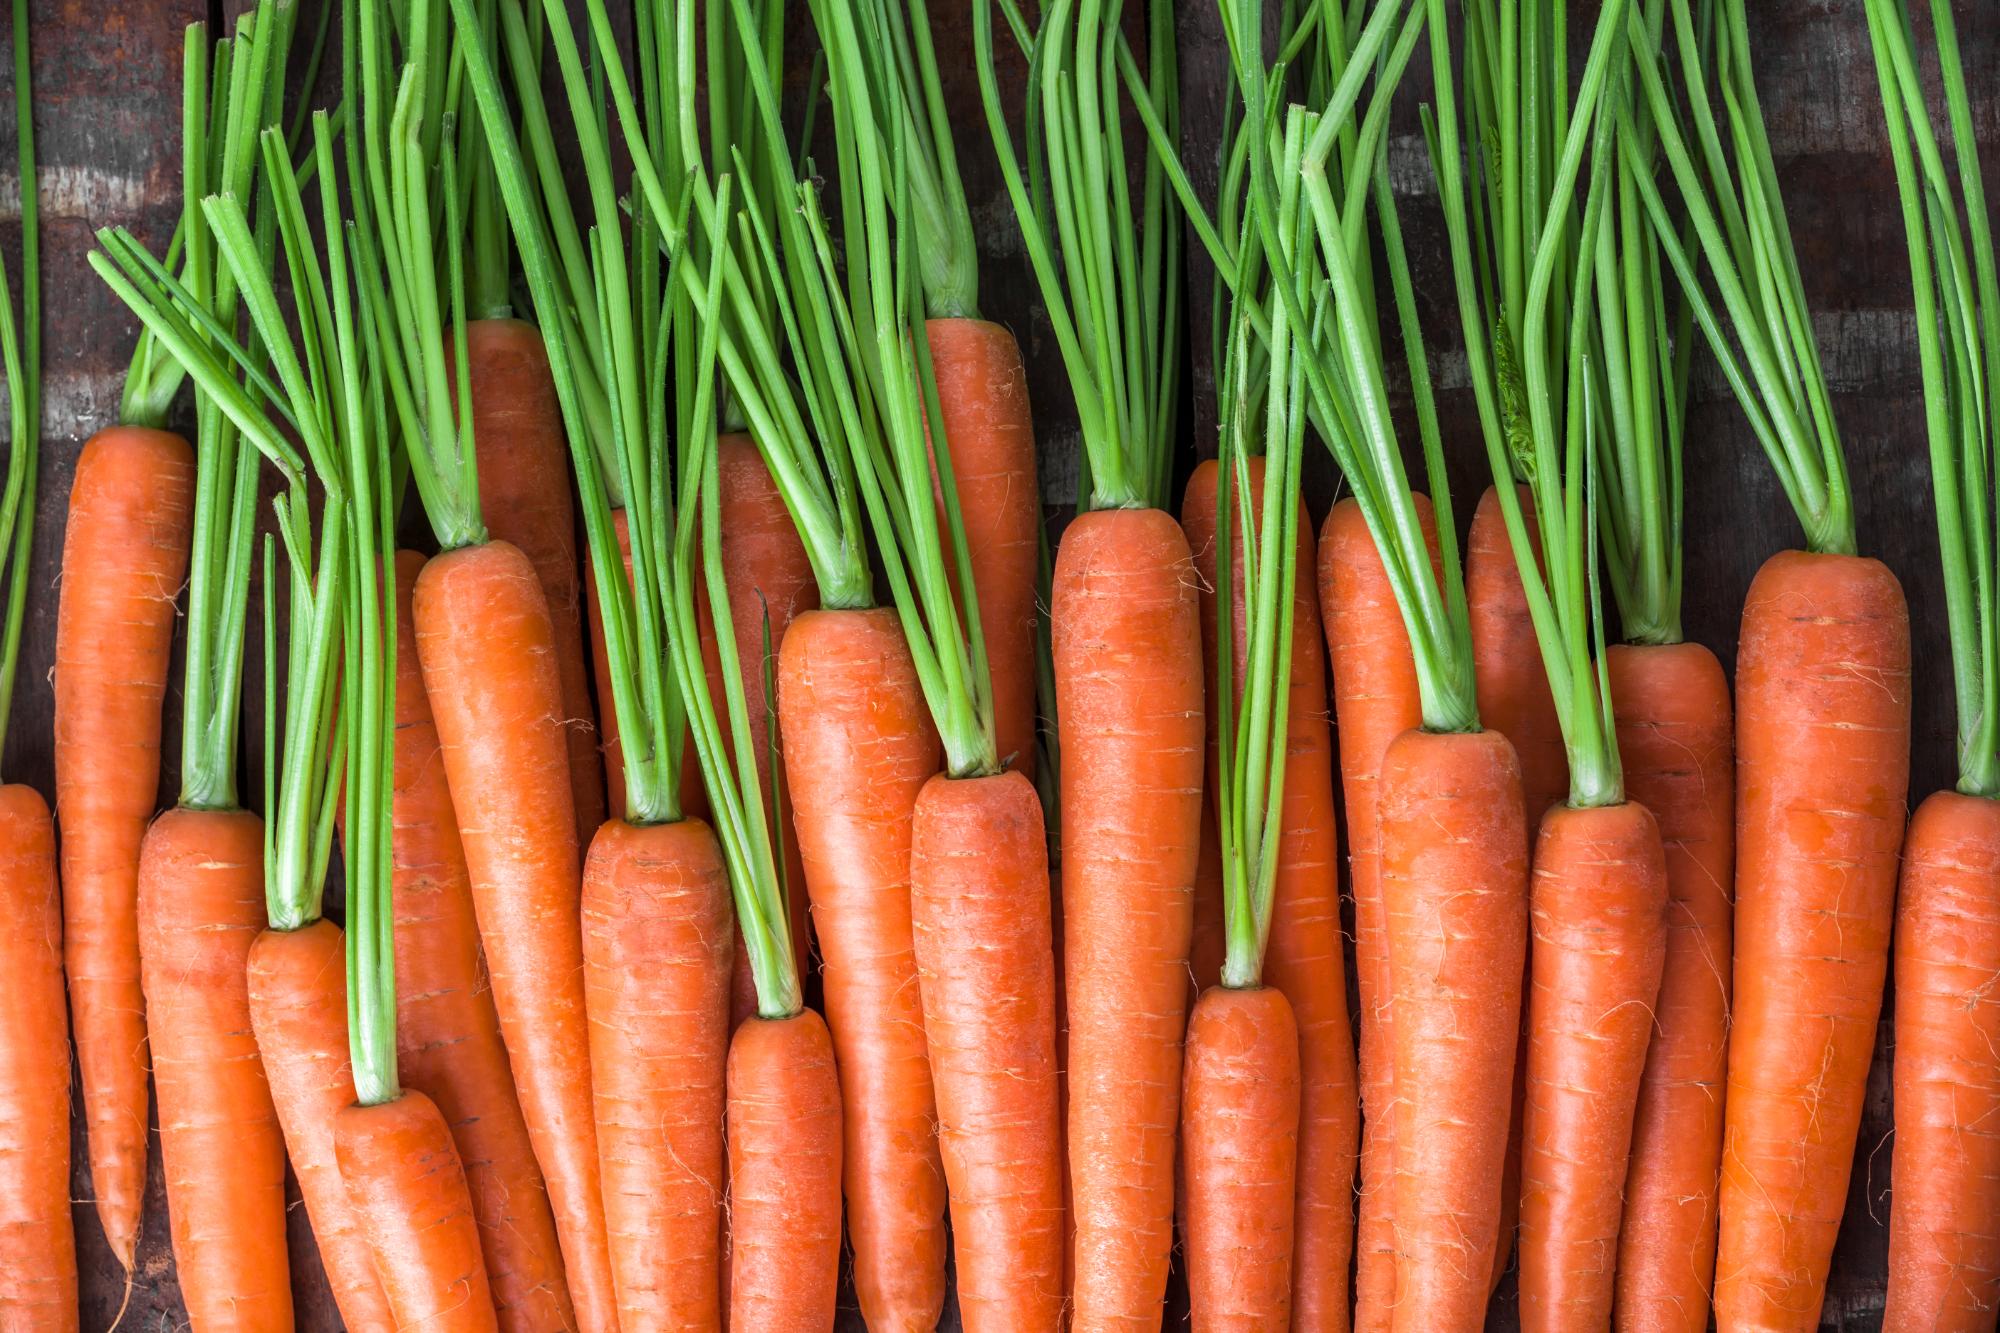
These are some of the easiest crops for beginners. Cool Weather:- Peas
- Spinach
- Lettuce
- Carrots
- Radishes
Warm Weather:
- Green Beans
- Zucchini
- Tomatoes
- Basil
- Marigolds
- Sunflowers
Cool weather crops are best planted in spring. Warm weather crops need nights above 50º to do well, and will be killed by frost in spring or fall. Because these plants have different temperature requirements, you will not be planting the entire garden at once.
Seeds vs. Transplants
Plan on buying nursery starts (transplants) for Lettuce, Spinach, Zucchini, Tomatoes, Basil, and Marigolds. Buy seed for the other plants. You will direct seed them. They don’t like being transplanted.
Planning the Space
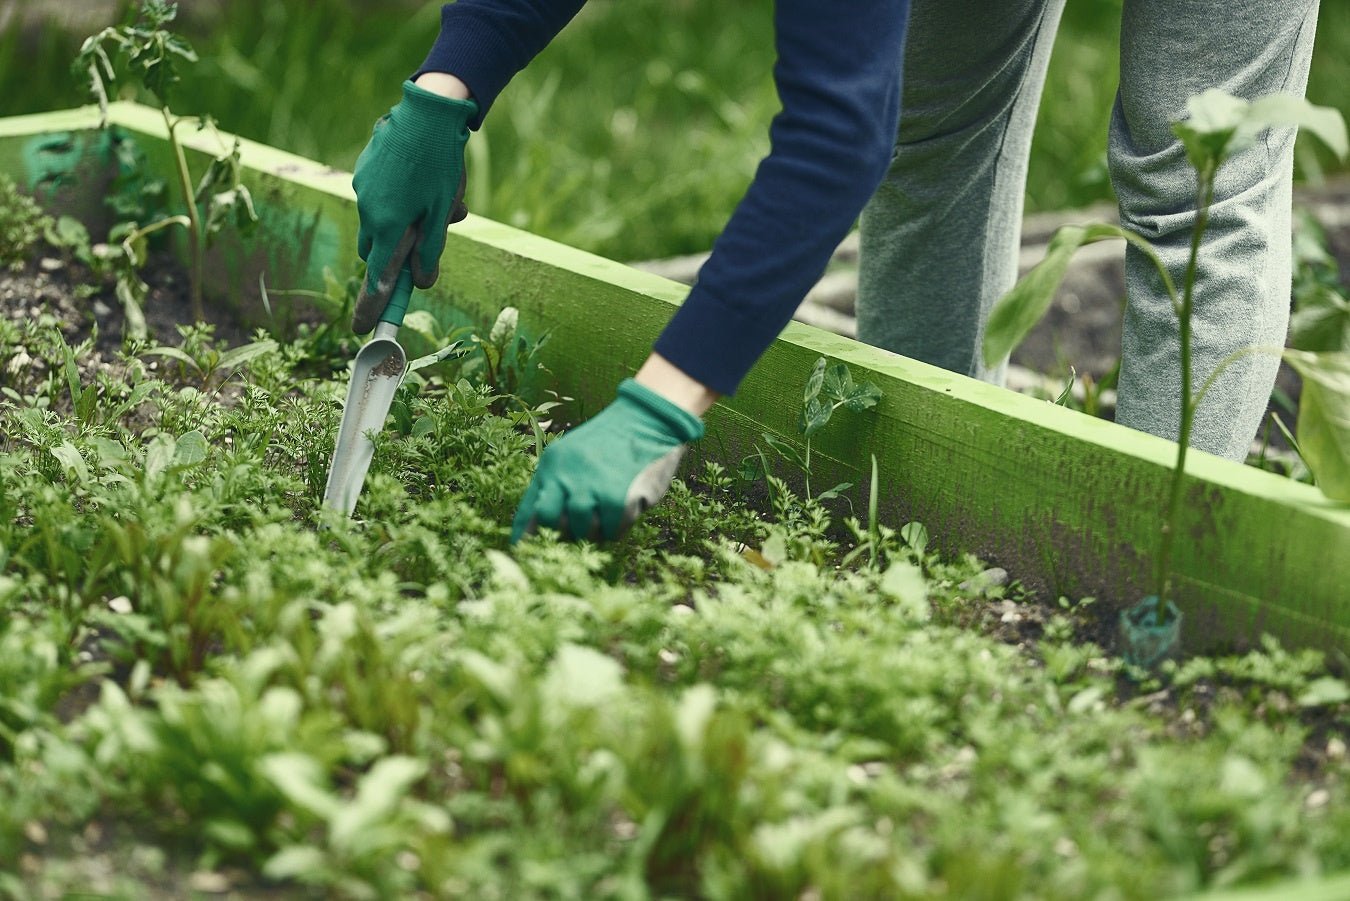
Now plan the garden space. Find a sunny spot with good drainage. Vegetables need 6-8 hours of full sun a day, but they don’t mind a little afternoon shade to protect them from the heat. Choose a spot near the house. If you can see the garden from inside, you’ll be reminded to tend it. Out of sight, out of mind! Place it near a spigot to simplify watering. Mark out a 4’x8’ bed with the long side running on an east-west axis for best sunlight. Remove the sod (or whatever your groundcover is). You can also build a raised bed.
Know Your Dirt
Get a soil test done to determine your pH, nutrients that are present, and nutrients that need to be added. Contact your Cooperative Extension office for a test, instructions to take soil samples, and info on how to read the results. You will get recommendations for soil amendments that are not organic, but you can ask your Extension agent to convert them for you. Here is a primer on organic fertilizers, and if you are a real DIYer, you’ll find this page on conversions interesting. High quality compost with well-balanced macro- and micro-nutrients might be all you need. But compost is also good for drainage, water retention, and air circulation, and it provides habitat for earthbound critters, such as worms. While you wait for your soil test results, till or use a flat tined pitchfork to turn over the soil in your new garden to a depth of 12-18”. First, be sure it’s not too wet. You can ruin the soil by working it before it dries out. Take a handful, and make it into a ball. If it sticks together, it’s too wet. If you touch it lightly, and it falls apart, it’s dry enough to work. Be patient! Liberally add good compost, and turn the bed again. Add the amendments recommended in your soil test, and turn it again. Rake it to a level surface removing rocks and clods of dirt.
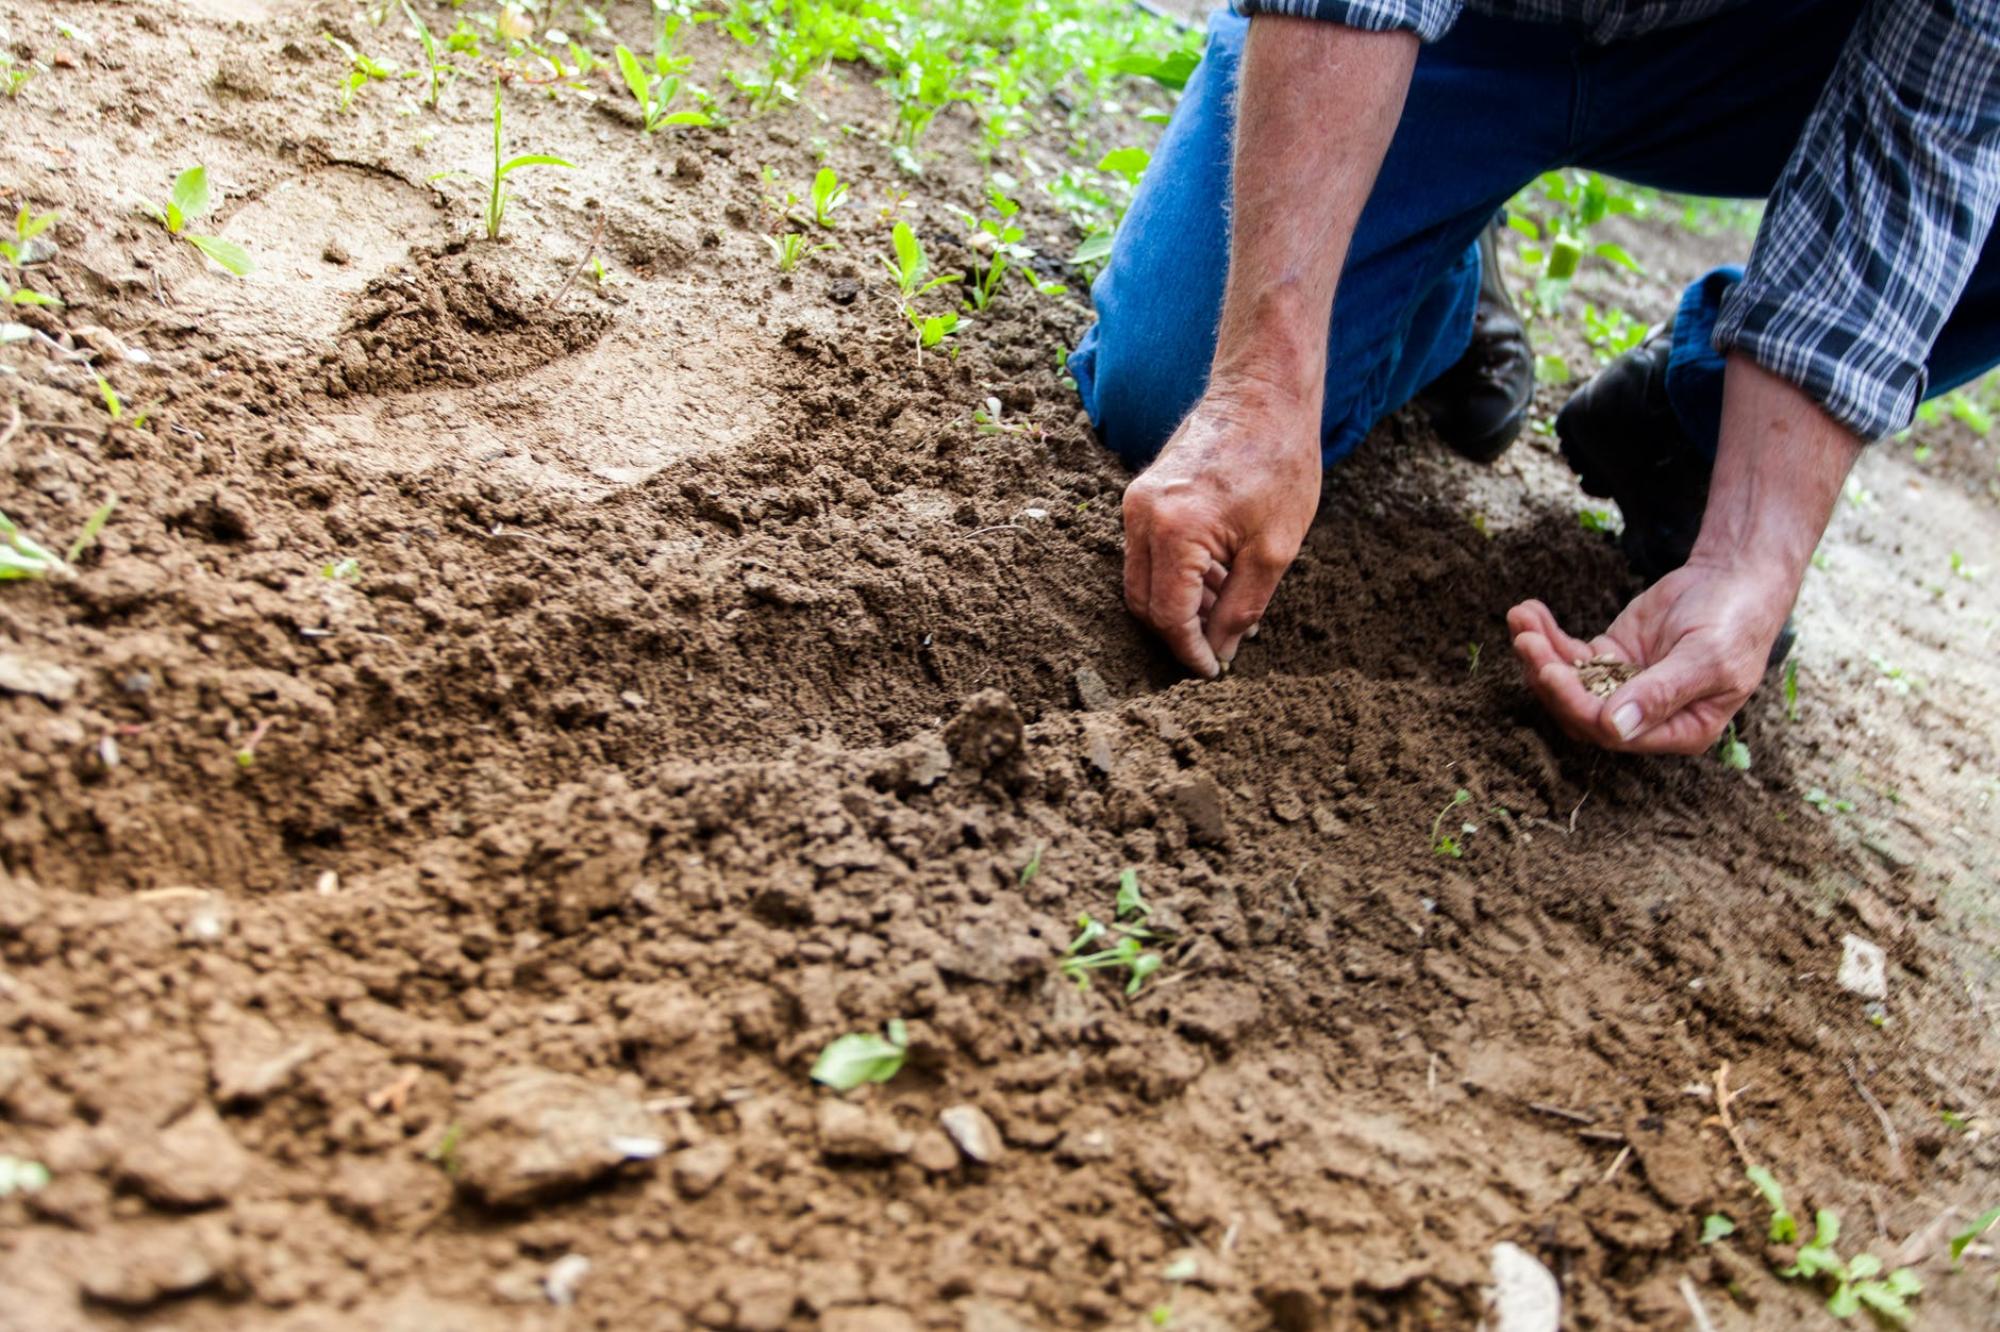
Planting and Irrigation
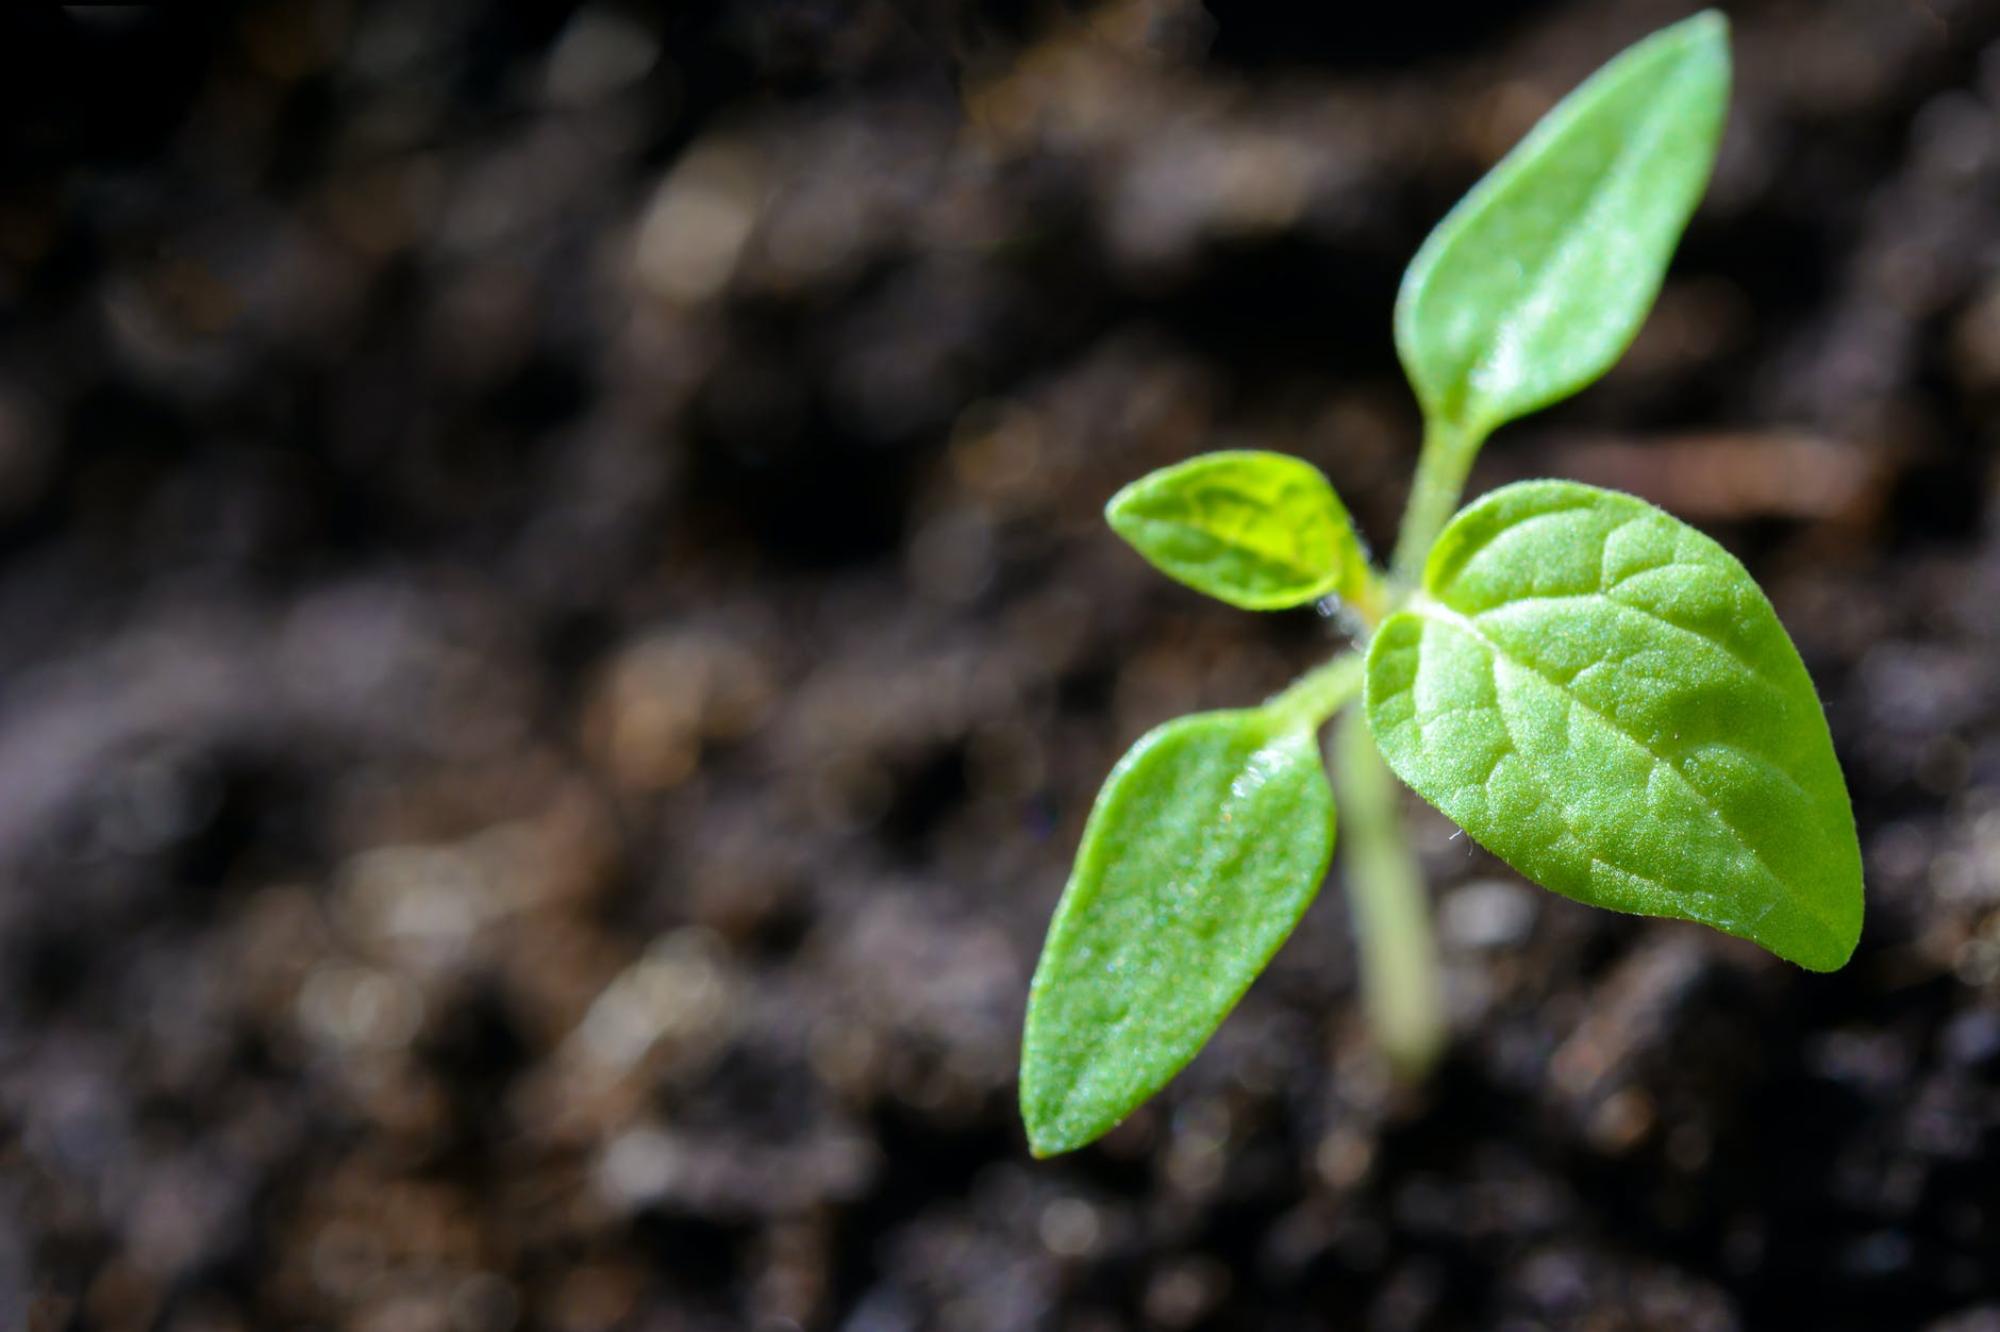
Follow the directions on the seed packets for direct seeded crops. They will tell you how deep to plant and how much space to give the mature plants. Transplants should not be placed in the soil deeper than the soil in the pot. The exception is tomatoes, which can have the whole stem buried up to the top leaves. Put up trellising along the north side for peas. First plant seeds of Peas, Carrots, Spinach, Lettuce, and Radishes. (See diagram above) Water in your new plantings, but do not flood them. Watering is a slow process. Add a bit, and let it soak in. Add more, and let it soak in again. When water starts to puddle on top of the soil, you’re done. Top the bed with 3-4” of mulch. Water your seeds every day until they germinate. Vegetables need 1” of water a week. You may get that much with normal rainfall, but be prepared with a way to water if it’s a dry summer. For a small space, you can hand water. If you are a weekend gardener, install drip irrigation before you add mulch, and put it on a timer. When the nights are warm, plant your starts of Tomatoes, Basil, Zucchini, Marigolds, and Zucchini, and seeds of Sunflower and Bush Beans. The Peas will be done soon, and you will pull them out, so don’t worry about crowding the Tomatoes next to them. Buy indeterminate varieties of Tomatoes, and use the trellis to support them. Water every day until seeds sprout, and until you see new growth on your starts. Ta da! Congratulations! You just planted your first garden! To get through the summer months of garden maintenance, read books and magazines (and follow them on social media), find local gardening groups online and in real time, and get involved with your local garden club. Shop at a reputable nursery, and ask questions! I highly recommend Mother Earth News, Farmers' Almanac. Also, Rodale’s Encyclopedia of Organic Gardening is a comprehensive reference book, but written simply for anyone to understand. But the best way to learn is by doing. And making mistakes. Keep a garden journal. Note what worked, what didn’t, what you loved, what you didn’t love, the weather, varieties you planted, how long to flower and harvest, bugs, disease, harvest dates and yields, recipes, and anything else! Use this info to make a garden plan for next year. Here’s to a successful growing season! I hope you get bitten by the gardening bug.
Would you like to be the first to hear about our new products and more? Sign up for our Nature’s Path Newsletter.